Jacket Manufacturing Insights 5 min read
Custom Jacket Development: From Concept to Approved Sample
Follow a practical custom jacket development workflow from reference images and tech packs to pattern review, prototype revisions and approved production samples.

Introduction
A strong jacket sample begins long before the first piece of fabric is cut. The work starts by turning a creative concept into decisions a pattern maker, sample room and production team can understand.
This guide explains a practical development sequence for made-to-order jackets. It does not assume that every brand starts with a professional tech pack—or that every design needs the same number of sample rounds. The objective is to reach a clearly approved reference for the finished product.
Step 1. Prepare a brief that describes the garment
At minimum, share the jacket category, intended fit, target wearer, major design features and expected quantity range. Front and back reference images are particularly useful. If you have a current sample, label the details to keep, change or remove.
A complete tech pack may include technical flats, a measurement specification, construction callouts, artwork, trim references, grading instructions and packaging requirements. If those items are not ready, begin with the best references available and make the missing decisions visible rather than leaving them as assumptions.
Step 2. Establish the silhouette and pattern direction
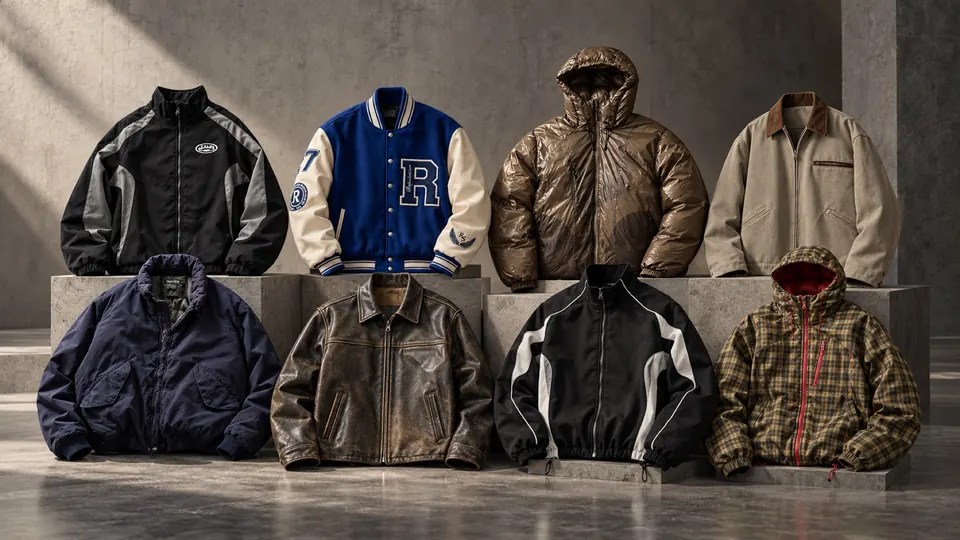
Silhouette is a system of proportions. Jacket body length, shoulder width, sleeve cap, sleeve volume, cuff shape and hem finish interact with one another. An oversized bomber with a short body requires different balance from a longer, straighter shell.
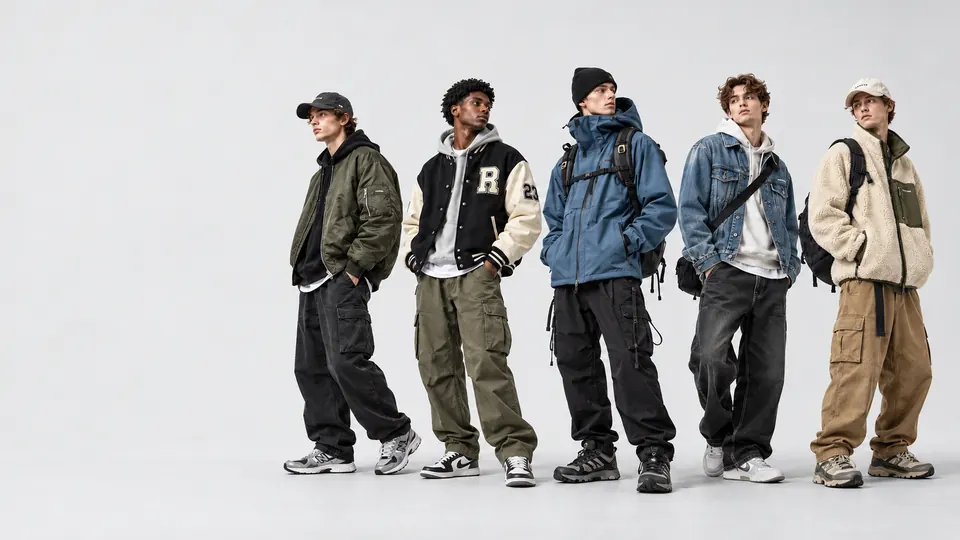
Review the intended wearing ease, layering allowance and size range. A useful fit brief states what the garment should look like on the target wearer, not only an approximate size label. Measurements and fit comments should refer to the same sample size whenever possible.
Step 3. Review shell fabric, lining and supporting components
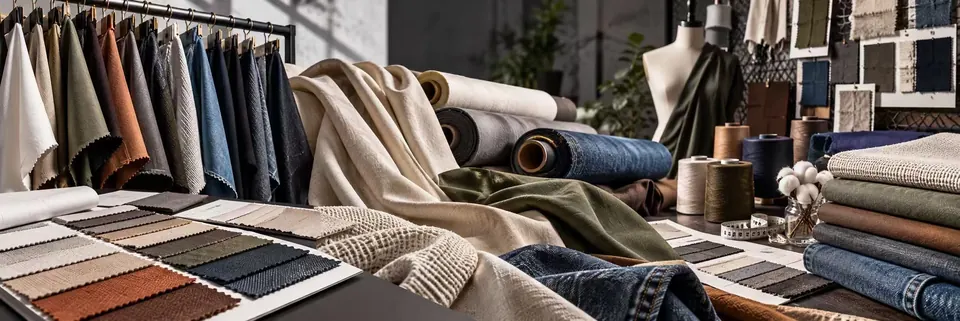
The shell fabric affects appearance, movement and construction. Lining or pocketing fabrics influence comfort and finishing. Rib, elastic, interfacing, reinforcement, zippers, snaps and drawcord components determine how well features function in use.
For each major material, discuss composition where known, weight, surface character, color options and compatibility with the design. A substantial embroidery placement may need additional stabilization; bulky seams may affect zipper installation; heavy denim and fleece require different allowances at joining points.
Step 4. Translate branding into manufacturing details
Brand customization is not limited to a chest logo. It may include embroidery, screen or transfer printing, appliqué, woven labels, care labels, hangtags, custom zipper pullers, patches or packaging. Each needs an agreed size, artwork format, position and application method.
For example, an embroidered motif on a curved or multi-layer pocket may behave differently from the same motif on a flat body panel. A large patch can change the hand and flexibility of the garment. Review decoration alongside construction—not as an afterthought once the pattern is complete.
Step 5. Make and review the first physical sample
The first sample tests the combined decisions. Review the garment on a person or appropriate fit form in the intended size. Check front and back balance, shoulder position, sleeve movement, collar or hood behavior, pocket use, hem tension and overall length.
Measure the sample against the working specification. Photograph issues from consistent angles and write revisions as actionable instructions: ‘increase sleeve opening by X after review’ is clearer than ‘make it more comfortable.’ Any change that affects another area should be reviewed as a group.

Step 6. Manage revisions with a single decision record
A sample review works best when the team maintains one current version of the specification and an organized issue list. Record which details are approved, which need changes and which remain open pending material or trim confirmation.
Do not approve the design based only on flattering photographs. Movement, closure operation, wash or care expectations and fit across relevant sizes may require additional checks. When a new sample is necessary, define exactly what it is intended to verify.
Step 7. Approve the production reference
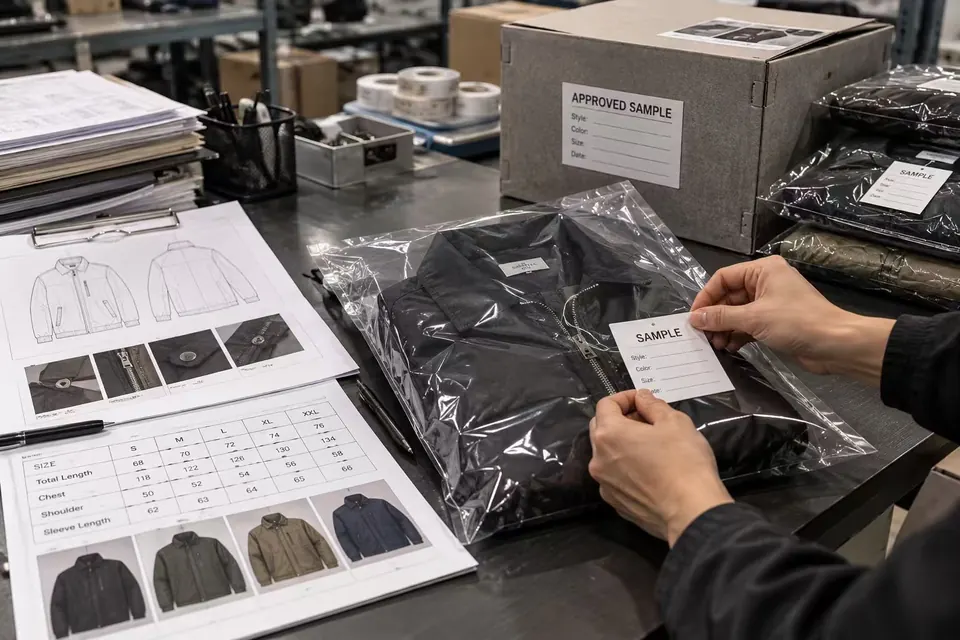
Before bulk production, the brand and manufacturer should agree on a final sample reference and updated technical specification. Important approvals normally cover silhouette, measurements and tolerances, shell and lining, trims, decorations, colors, labels, packaging and quantity breakdown.
The approved sample helps communicate the finished appearance, but it should not replace written specifications. Color standards, artwork files, grading rules and inspection criteria may need separate documentation. Both physical and written references reduce ambiguity when production scales beyond a one-off sample.
Common delays to avoid
Three sources of avoidable delay are vague references, changes made after a sample has already been approved, and late selection of custom materials or trims. A fourth is treating sample confirmation as the end of communication rather than the beginning of a controlled bulk handoff.
The practical solution is a decision order: define the design, assess material feasibility, review the sample, close open points, approve final documents and then authorize the production plan. Timing and cost will depend on the actual design and sourcing conditions.
Conclusion
Custom jacket development is a sequence of approvals, not simply a photo of a finished sample. Brands that provide clear references and record decisions make it easier for all parties to protect design intent as the project moves toward bulk production.
Frequently asked questions
Can I start with a photograph instead of a tech pack?
Yes, a photograph or physical reference can start a design discussion. The manufacturer and brand still need to agree on measurements, construction and materials before final approval.
How many sampling rounds does a custom jacket need?
There is no universal number. Complexity, fit changes, custom materials and decoration can affect the required reviews. Agree on what each round is intended to verify.
Is a confirmed sample enough for bulk production?
The approved sample is important, but a current size specification, artwork and trim approvals, color standards and production instructions are also needed where applicable.
Your next step
Have a jacket design in progress? Send RUIXING your concept, reference garments or tech pack through Start a Project. Include your intended fit, key details, planned quantity and any target fabric so the development discussion can begin with the right questions.